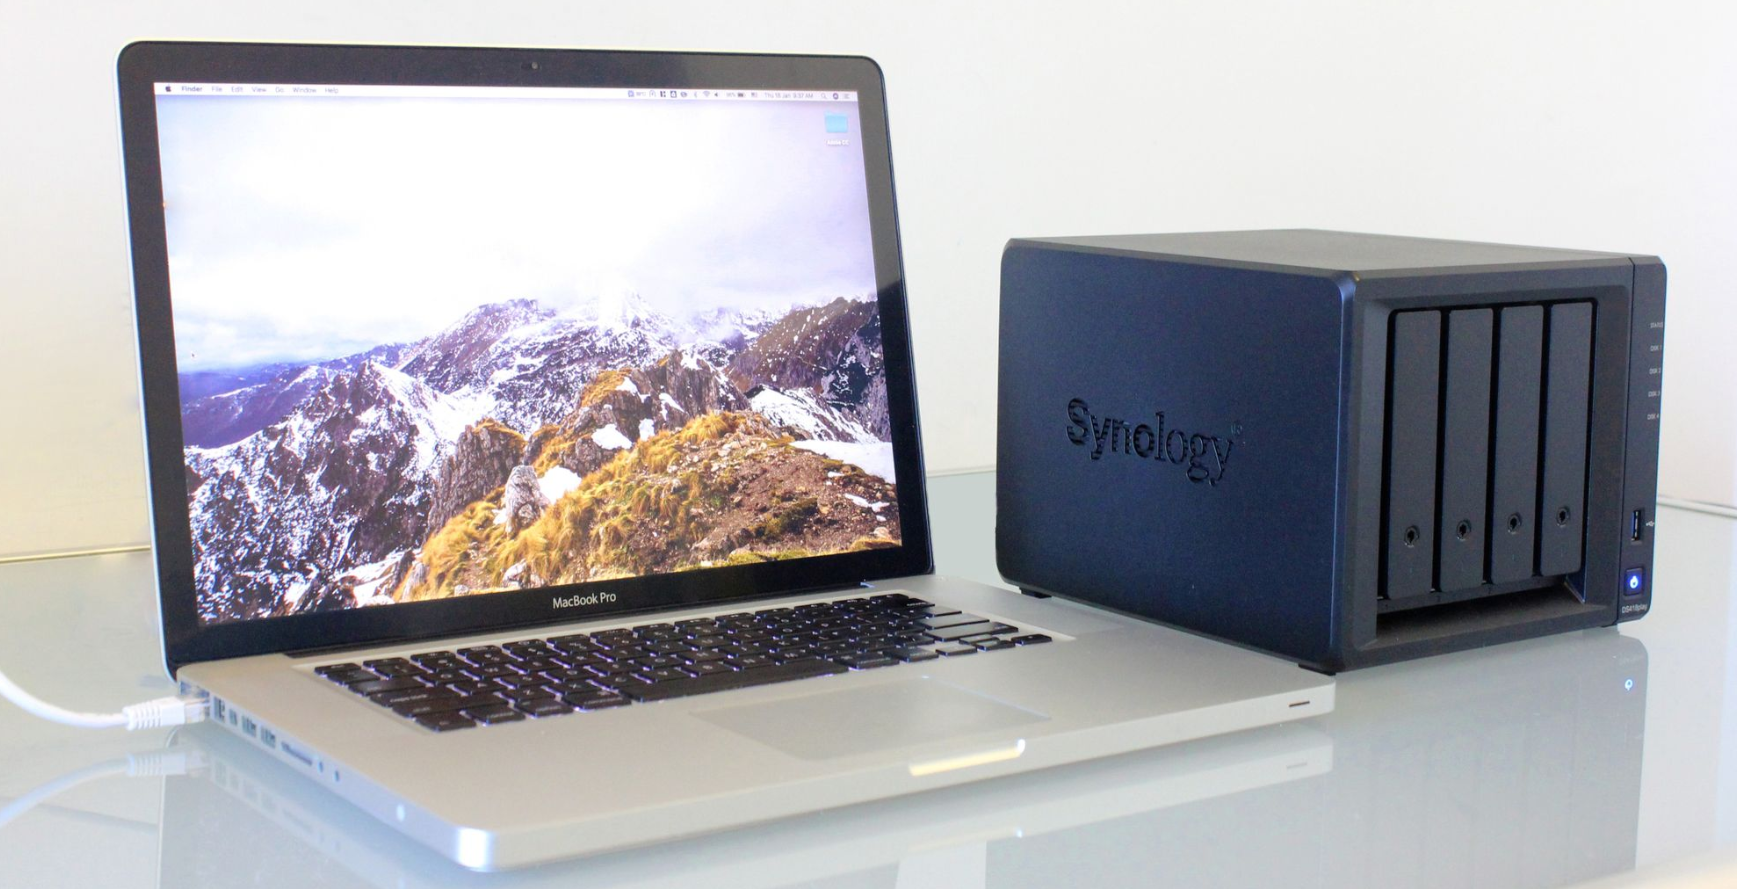
How to Transfer Files from macOS to Your Synology NAS?
Do you own a Synology NAS and want to integrate it with your Apple MacBook? With a few simple steps, you can add your Synology NAS to Finder, allowing you to access all your stored files wherever you are. Follow this guide to seamlessly connect your Synology NAS to your MacBook.
Connect Your Synology NAS to Your MacBook in 3 Simple Steps
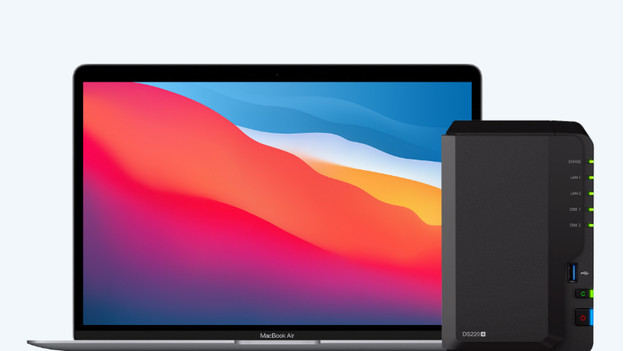

Connecting your Synology NAS to your MacBook is straightforward. Here’s a breakdown of the process:
- Step 1: Open the setup wizard in Finder.
- Step 2: Enter the IP address and save the server.
- Step 3: Log in and connect your NAS to your MacBook.
Step 1: Open the Setup Wizard in Finder
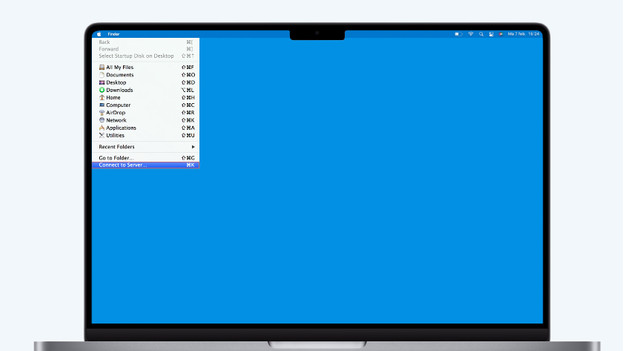
Start by opening Finder on your MacBook. Click on ‘Go’ in the menu bar at the top and select ‘Connect to Server’ from the dropdown menu. This option is located at the bottom of the list. This will open a new window where you can start setting up the connection to your Synology NAS.
Step 2: Enter the IP Address and Save the Server
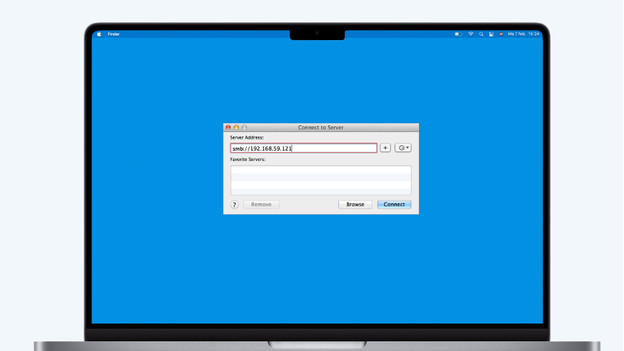
- In the setup window, type
smb://followed by the IP address of your Synology NAS in the Server Address field. - If you don’t know the IP address, visit find.synology.com on your MacBook. The IP address will be displayed on the second line.
- To save this server for future connections, click the + button next to the field.
- Once done, press Connect.
If you’re working in an environment with multiple servers, saving the IP address ensures quicker access next time.
Step 3: Log in and Connect Your NAS
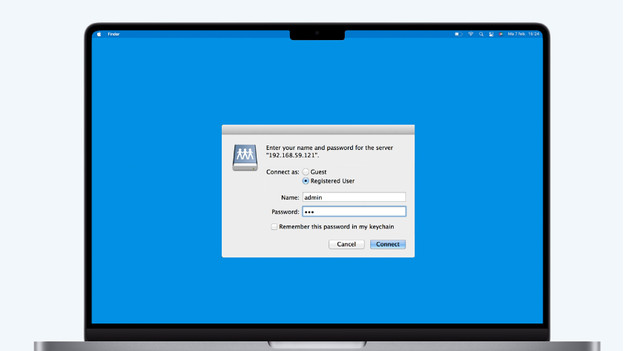
- After clicking Connect, a login window will appear.
- Choose Registered User and enter your Synology NAS username and password.
- Alternatively, you can log in as a Guest, though this grants limited access rights.
- Press Connect.
Once connected, your NAS will appear in Finder under Shared. The displayed name will match the IP address or custom name of your NAS. Your Synology NAS is now accessible and ready for use with your MacBook!
Additional Tips
- Secure Access: Ensure you’re using a strong password for your NAS to protect your data.
- Backups: Consider setting up Time Machine backups to your Synology NAS for seamless data protection.
- Cloud Sync: Use Synology Drive to sync files across devices for added convenience.
By following these steps, you can fully integrate your Synology NAS with macOS, making file management more efficient.