
How to Transfer Drives from Your Old Synology NAS?
Transferring hard drives from your old Synology NAS to a new one involves more than simply moving the drives. Compatibility, backup, and proper setup are essential steps. This guide walks you through the process in six detailed steps, ensuring a smooth migration.
Transfer Your Hard Drives in 6 Easy Steps
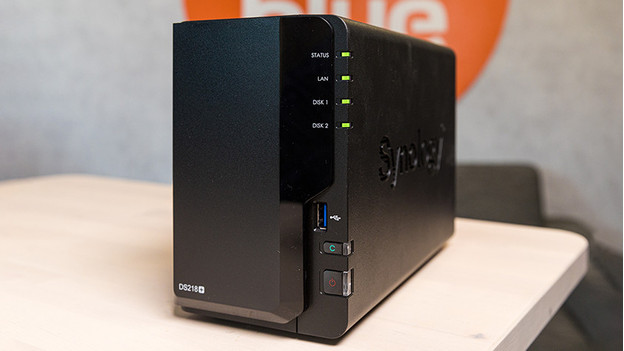
Follow these six steps to successfully transfer your drives:
- Check the compatibility of your drives.
- Create a backup of your settings.
- Back up your data using Hyper Backup.
- Transfer the hard drives.
- Install the hard drives in the new NAS.
- Set up your new NAS and restore settings.
What You’ll Need:
- Your old and new Synology NAS devices.
- A laptop or desktop computer.
- A network connection (router or modem).
- Internal hard drives and one temporary extra drive.
Step 1: Check the Compatibility of Your Drives
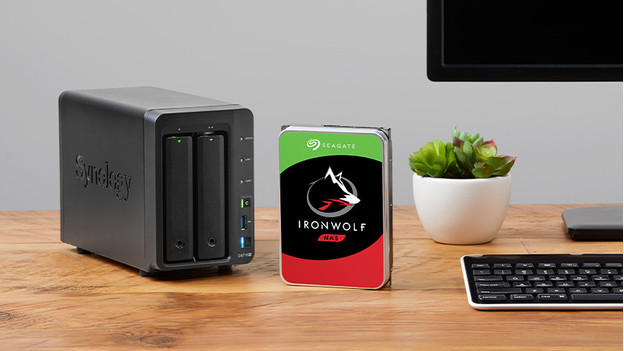
Before transferring, ensure your drives are compatible with the new NAS. If you’re using an M.2 SSD for caching, check its compatibility too.
- For the same NAS model, proceed to Step 2.
- For a different NAS model, consult the HDD/SSD compatibility list.
Note: Drives like Seagate IronWolf or WD Red are compatible with most Synology NAS models released after 2015. If using HDDs larger than 8TB, ensure the NAS supports drives from 2021 or later.
Step 2: Create a Backup of Your Settings
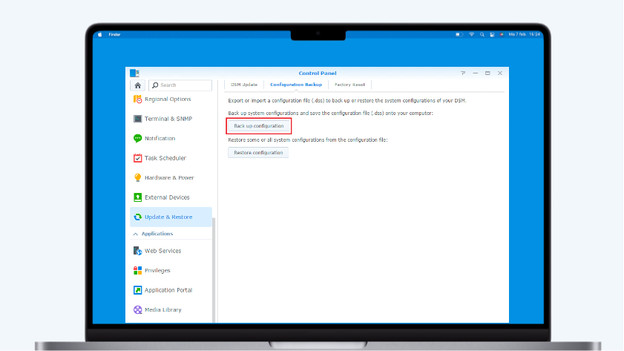
Log into your old NAS and navigate to the Configuration screen.
- Select Update and Restore to ensure DSM is up to date.
- Under the Configuration Backup tab, choose Backup and save the settings.
- Store the backup on a temporary drive, not one of your main hard drives.
Step 3: Back Up Your Data Using Hyper Backup
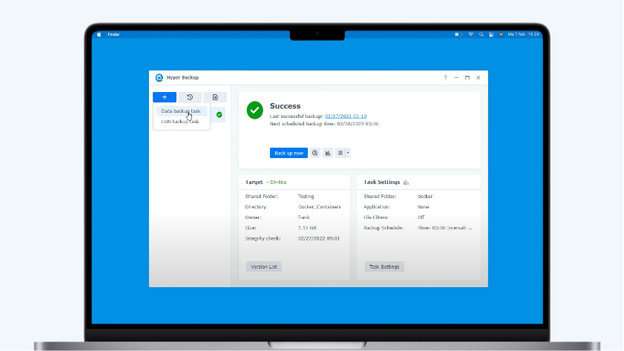
While data isn’t usually lost during transfer, a backup is always a safe choice.
- Install the Hyper Backup app from the Synology Store.
- Create a new backup task, selecting External NAS Device as the destination.
- Enter the IP address of your new NAS (found at find.synology.com).
- Select folders and apps for backup and click Complete.
- Power down both NAS systems once the backup is finished.
Step 4: Transfer the Hard Drives
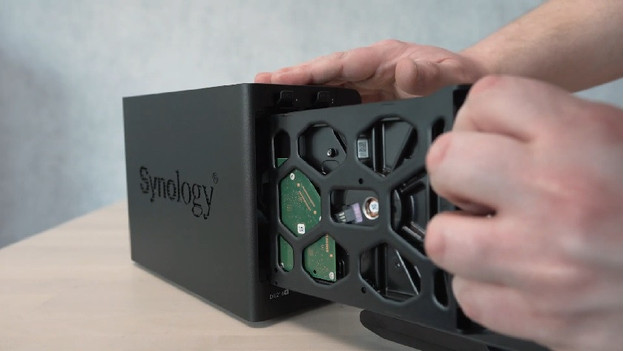
With both NAS devices turned off:
- Remove the hard drives from the old NAS.
- Note the installation order of the drives for proper setup in the new NAS.
- Insert the drives into the new NAS and power it on.
Step 5: Install the Hard Drives in the New NAS
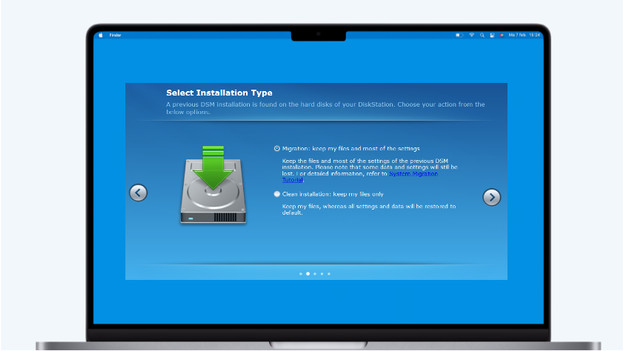
Access the new NAS via your computer:
- Visit find.synology.com in your browser.
- Double-click the new NAS and confirm its status is Migratable.
- Select Install and choose the Migrate option.
If you encounter a warning about data deletion, ensure the drives are installed in the correct order and retry.
Step 6: Set Up Your New NAS
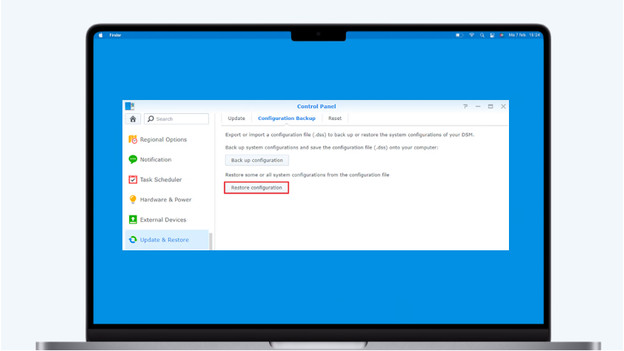
Complete the setup:
- Choose the latest DSM version during installation.
- Restore settings from the backup file saved in Step 2.
- Finalize the configuration, and your new NAS is ready for use.
How to Replace Drives in a Broken NAS?
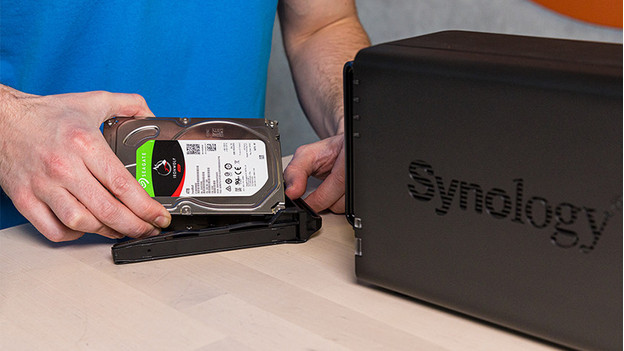
If your old NAS is defective:
- Use a temporary hard drive to install DSM on the new NAS.
- Insert your old drives into the same model NAS in the original order.
- Sign in to restore functionality.
Common Questions
How Do I Migrate My SSD Cache to a New NAS?
Ensure the new NAS uses the same DSM version. If not, remove the cache and reinstall it on the new NAS.
Can I Move a Drive from a Single-Slot NAS to a Multi-Slot Model?
No, unless the NAS models are identical. Otherwise, format the drive or back it up before transferring.
Can Drives Be Moved to a Less Powerful NAS?
It’s technically possible, but performance may suffer. Upgrade to a similar or better model for optimal results.