
How to Set Up Synology Drive Server?
Synology Drive Server, the successor to Synology Cloud Station, enables you to manage and synchronize files across devices using your own private cloud. You control access permissions, file visibility, and editing rights, making it an ideal solution for personal or team use. This guide provides step-by-step instructions for downloading, installing, and setting up Synology Drive Server.
What is Synology Drive Server?
Synology Drive Server simplifies file management and synchronization. Share photos, videos, and documents with your network while maintaining control over who can view or edit them. This upgraded version of Synology Cloud Station introduces a more user-friendly interface, extended mobile application functionality, and online document editing.
How to Set Up Synology Drive Server?
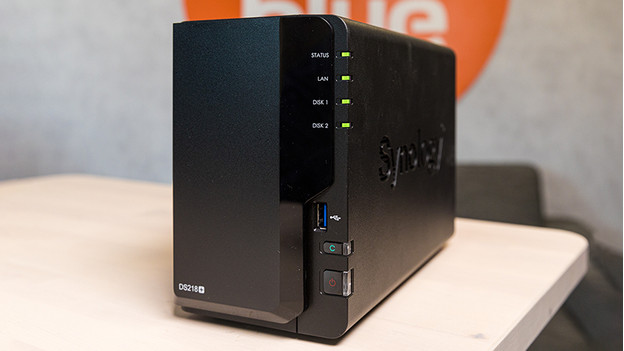
Setting up Synology Drive Server takes less than an hour. Follow these steps:
- Preparation
- Install Synology Drive Server on your NAS
- Enable synchronization and configure access permissions
- Download Synology Drive Client
- Configure Synology Drive on your PC or laptop
Preparation
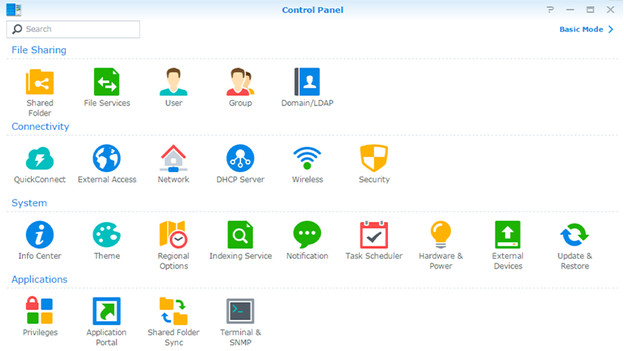
Before you begin, ensure the following:
- Update DSM: Your NAS should run at least DSM 6.2.2. Check the DSM version in the Configuration screen.
- Browser Compatibility: Use a modern browser like Firefox, Chrome, Safari, or Internet Explorer 10.
- Install Required Apps: Ensure “Universal Search” and “Synology Application Service” are installed from the Synology Package Center.
- QuickConnect or IP Address: Have your QuickConnect ID or IP address handy for Step 3.
Step 1: Install Synology Drive Server on Your NAS
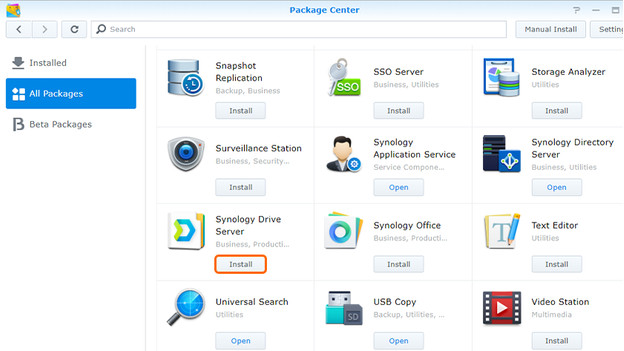
- Log in to your Synology NAS.
- Open the Package Center and search for “Drive.”
- Install Synology Drive Server from the results.
- Open the application and refresh the page when prompted.
- Synology Drive and Drive Admin Console are now installed.
Step 2: Enable Synchronization and Configure Access
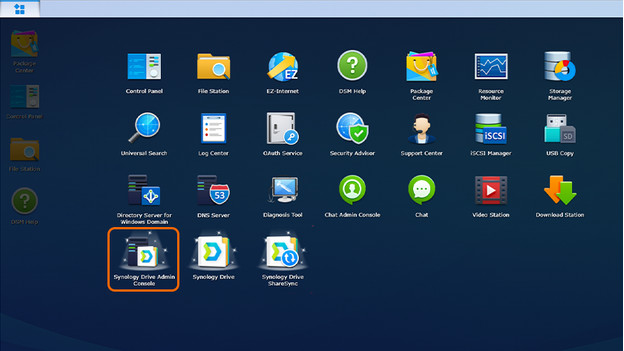
- Open the Drive Admin Console with your admin account.
- Select the folder you want to synchronize under Team Folder and enable it.
- Adjust read/write permissions in the Synology Configuration screen under Shared Folder.
- Optionally, assign specific folder permissions for individual users in the User tab.
Step 3: Download Synology Drive Client
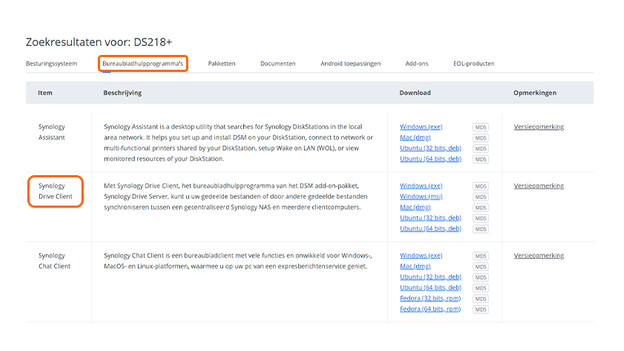
- Visit the Synology Download Center.
- Choose your NAS model and download Synology Drive Client for Windows, Mac, or Ubuntu.
- Install the application and accept the terms and conditions.
- Launch the app, enter your QuickConnect ID or NAS IP address, and log in.
Step 4: Configure Synology Drive on Your PC or Laptop
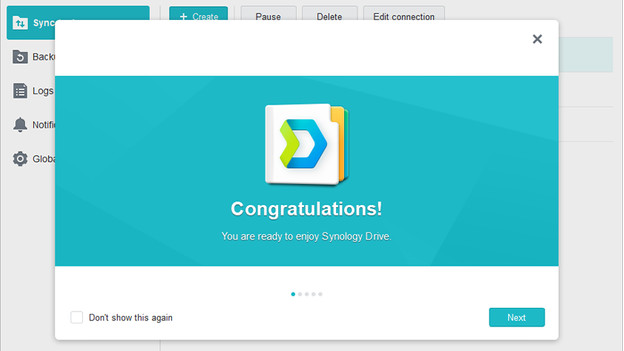
- Address any QuickConnect or SSL warnings by clicking “Ignore and Continue.”
- In the setup wizard, choose the Drive Server folder to synchronize.
- Optionally, specify a local folder to sync with the NAS (e.g., C:\).
- Use the Advanced settings to exclude specific files or folders and configure sync modes (upload/download/both).
- Complete the setup and enable shared-with-me synchronization if needed.
Final Steps and Additional Resources
You’ve successfully set up Synology Drive! From here, you can take a virtual tour within the app to explore its features further.
- Tip: Regularly update Synology Drive to access the latest features and security improvements.
- Explore More: Learn more about Synology Drive Client.
Enjoy your streamlined file management with Synology Drive Server!