
How to Make Backups of Your Files on a NAS?
A NAS is not just for media streaming—it can also function as your personal cloud for backups. From vacation photos to important business files, a NAS provides a secure storage solution. This guide explains why backups are essential and how to set them up using your NAS.
What Is a Backup, and Why Use a NAS?
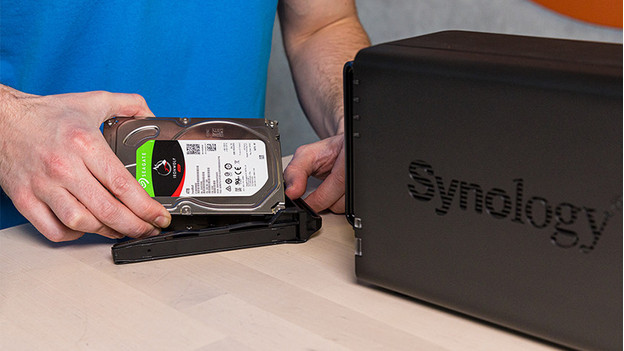
A backup is simply a copy of your data stored on a separate drive. For instance, if your NAS or hard drive crashes, a backup ensures your files remain safe on another drive. Here’s why a NAS is ideal for backups:
- No Subscription Costs: Unlike cloud services, you own your NAS.
- Purpose-Built for Backups: Designed for efficient and secure data storage.
- RAID Setup: Protects data by mirroring or distributing files.
- Convenience: Automates backup processes with minimal effort.
Which RAID Setup Should You Use for Backups?
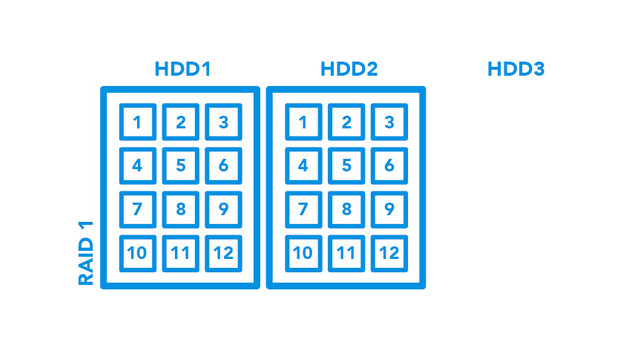
For secure backups, use a RAID setup. RAID allows multiple drives to work together for data protection. The most suitable RAID setups for backups are:
- RAID 1: Mirrors data across two drives for redundancy.
- RAID 5 and 6: Use parity to restore data if a drive fails.
- RAID 10: Combines mirroring and striping for performance and protection.
How to Back Up Your Desktop or Laptop
Windows
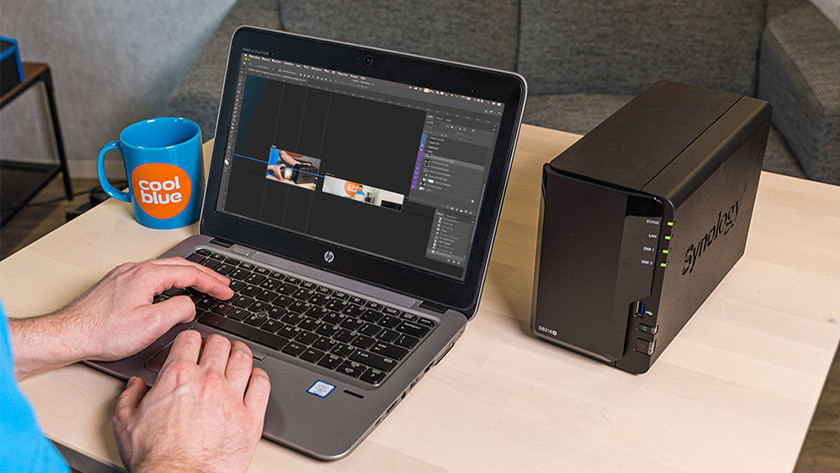
- Connect your PC to the same network as the NAS.
- Use Windows’ built-in backup function to select the NAS as the network location.
- Drag and drop files into a designated NAS folder, or set up automatic backups in the system settings.
macOS
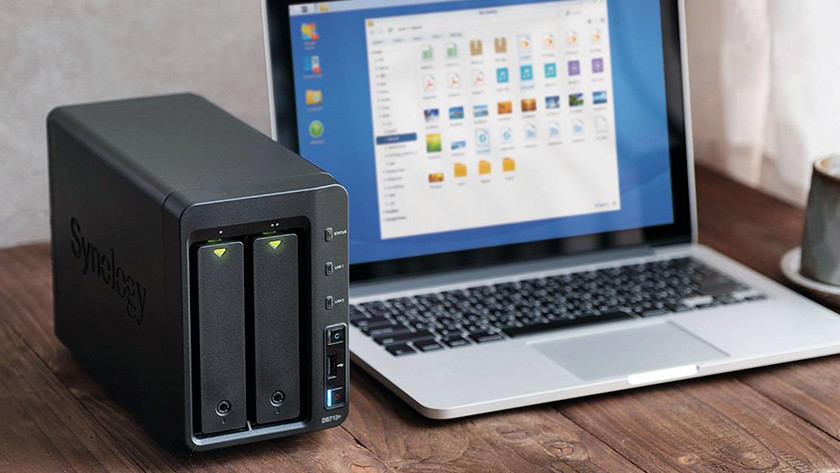
- Use the Time Machine app for automatic system backups.
- Connect your Mac to the same network as the NAS.
- In Time Machine settings, select the NAS as the backup destination.
- Enter your NAS username and password to start backups.
How to Back Up Your Smartphone or Tablet
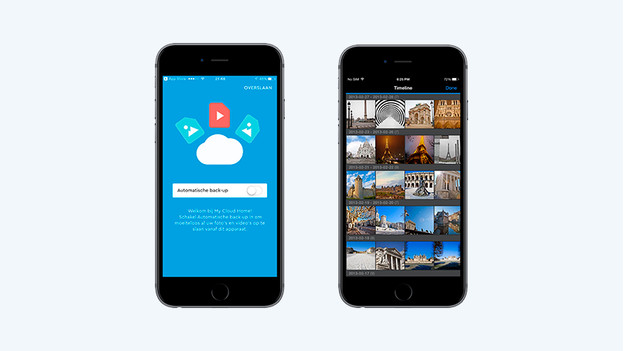
Most NAS brands, like Synology, QNAP, and Western Digital, provide mobile apps for backup. Steps to back up your mobile device:
- Connect your device to the same WiFi network as the NAS.
- Download the NAS app (e.g., Synology Drive, My Cloud Home).
- Use the app to select files (e.g., photos, videos) for backup.
- Automate backups for added convenience.
How to Back Up External Drives or USB Flash Drives
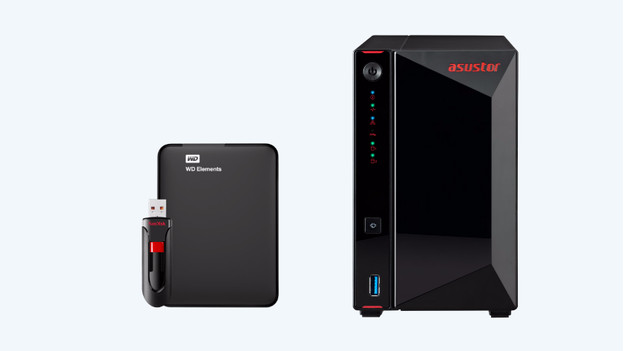
Most NAS devices have USB ports for connecting external drives. To back up data:
- Connect the external drive or USB flash drive to the NAS via a USB port.
- Access the NAS user interface, where the connected drive appears as a folder.
- Select files to back up, or transfer them permanently to the NAS.
- Use the connection for two-way file transfers when needed.
By following these steps, you can ensure that your important files are backed up securely on your NAS, providing peace of mind and easy access to your data.