How to Install Your Synology NAS?
Setting up your Synology NAS for the first time can feel overwhelming. This guide breaks down the installation process step by step, so you can start storing and sharing files with ease. Follow along to get your NAS up and running.
Set Up Your Synology NAS in 7 Steps
Summary of Steps:
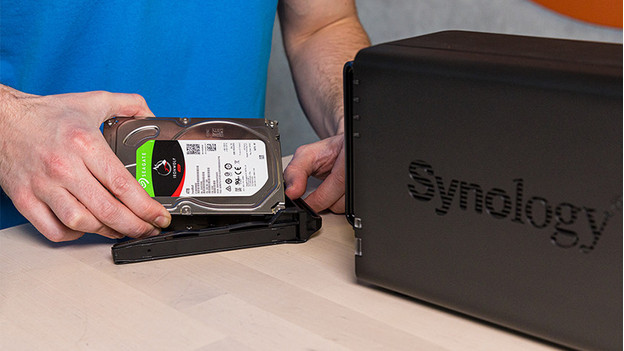
- Place the hard drives in the NAS.
- Connect the NAS to the network.
- Install the DSM software.
- Complete the initial setup by entering your information.
- Configure the storage pool and volume.
- Create a shared folder.
- Make the NAS accessible on other devices.
Step 1: Place the Hard Drives in the NAS
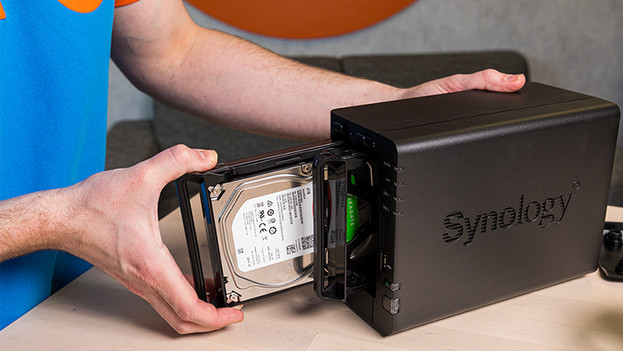
- Remove the front panel of your NAS (if applicable).
- Pull out the drive holders and remove the side panels.
- Insert the hard drive into the holder and reattach the side panels.
- Slide the holder into the NAS.
- For 2.5-inch drives, secure them using screws in the designated spots.
Repeat for multiple drives, then proceed to the next step.
Step 2: Connect the NAS to the Network
- Use a network cable to connect your NAS to the router.
- Power on the NAS.
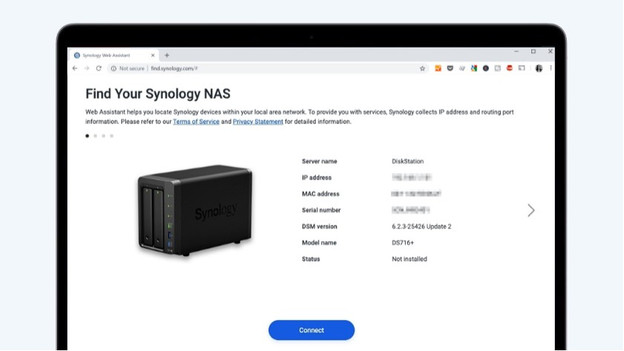
- Open a web browser and go to find.synology.com.
- Select your NAS and click Connect.
- Click Install to continue with the DSM setup.
Step 3: Install the DSM Software
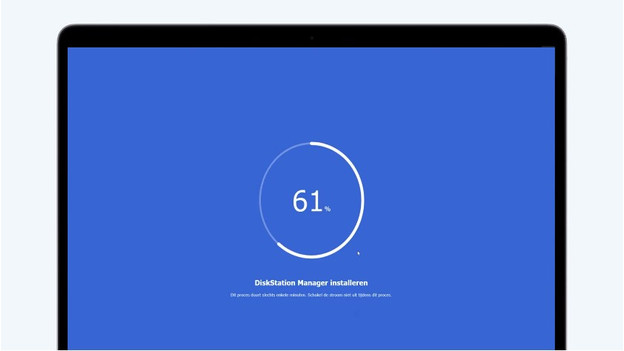
- After clicking Install, choose Automatic Installation.
- Note that this process erases all data on your drives.
- Confirm the setup to begin DSM installation.
- Wait approximately 10 minutes for the process to complete.
Step 4: Complete the Initial Setup
- Assign a Device Name for your NAS.
- Create an Administrator Account with a secure password.
- Choose your preferred update settings (automatic is recommended).
- Click Next to proceed to the NAS desktop.
Step 5: Configure the Storage Pool and Volume
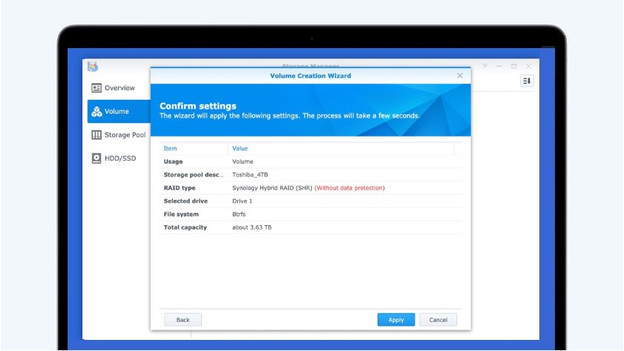
- Navigate to Storage Manager > Volume Menu.
- Click Create to start the setup.
- For a simple setup, choose Automatic Installation with the SHR configuration.
- Select the drive(s) for the volume and click Next.
- Enable the Btrfs file system for advanced storage features.
The NAS will perform a parity test but remains operational during this time.
Step 6: Create a Shared Folder
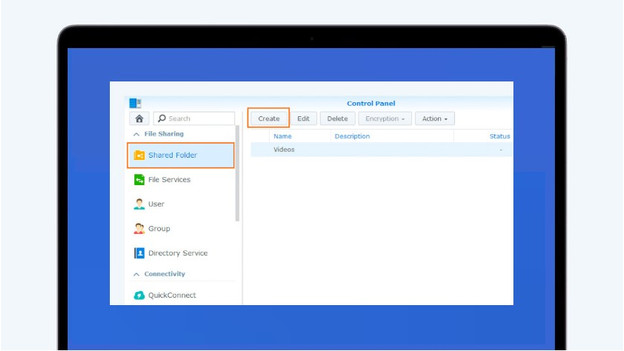
- Open the Control Panel and select Shared Folder.
- Click Create and provide a name and description for the folder.
- Assign a volume and configure user permissions.
Step 7: Make the NAS Accessible on Other Devices
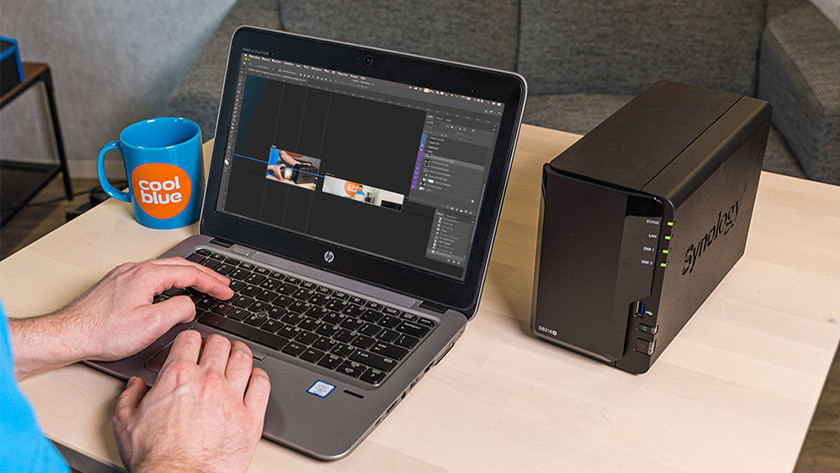
On Windows:
- Ensure your PC is on the same network as the NAS.
- Have the NAS name, volume name, and shared folder details ready.
On Mac:
- Connect your MacBook, iMac, or Mac Mini to the same network.
- Use the NAS name, volume name, and shared folder details.
Troubleshooting Common Issues
Why Doesn’t the NAS Recognize Your Drive?
- Ensure the drive is securely inserted.
- Verify the drive’s compatibility on the Synology website.
What If the NAS Bay or Hard Drive Is Broken?
- Try another NAS slot to check for a defective bay.
- If the drive still doesn’t appear, it may need replacement.
Why Doesn’t the NAS Appear in Your Network?
- Reset the NAS and reconnect via find.synology.com.
- Restart your router if the issue persists.
If all else fails, contact Synology customer service for assistance.