How to Get External Access to Your Synology NAS via QuickConnect?
QuickConnect allows you to access your Synology NAS remotely, enabling you to watch movies, access files, or manage your NAS from anywhere with an internet connection. This guide outlines the steps to set up QuickConnect for seamless external access.
Steps to Enable External Access to Your Synology NAS
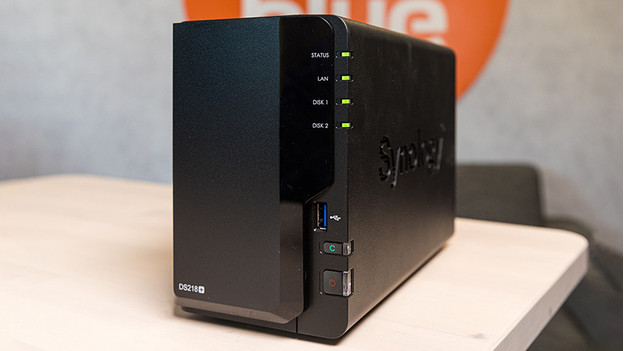
Setting up QuickConnect is straightforward. Ensure you have the following:
- A Synology NAS
- A laptop or desktop with internet access
- A stable internet connection
Summary of Steps:
- Set up QuickConnect on your NAS.
- Create a QuickConnect ID.
- Connect your device via QuickConnect.
- Secure your NAS connection.
Step 1: Set Up QuickConnect on Your NAS
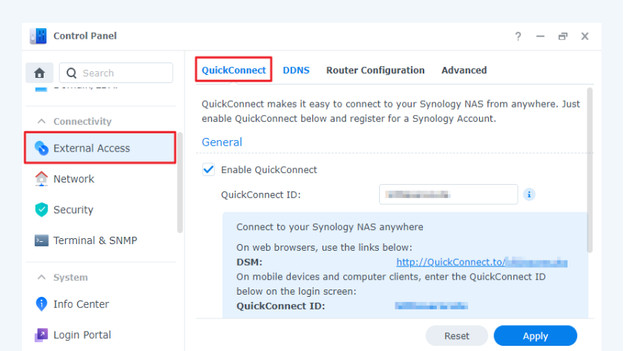
The steps to enable QuickConnect vary based on your DSM version:
-
DSM 7.0 or higher:
Go to Configuration Screen > Connectivity > External Access. Under the QuickConnect tab, check the box for Enable QuickConnect. -
DSM 6.2 or lower:
Navigate to Configuration Screen and check Enable QuickConnect at the top of the page.
If you don’t have a Synology account, create one or log in with an existing account.
Step 2: Create a QuickConnect ID
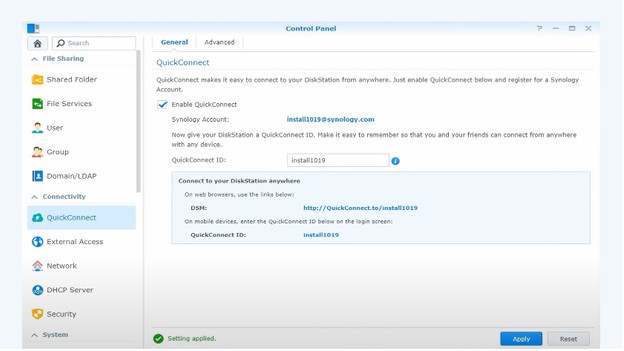
After enabling QuickConnect:
- Enter a unique username for your QuickConnect ID.
- Agree to the privacy policy and click Apply.
- If the ID is available, a URL (e.g.,
http://quickconnect.to/yourID) will be generated.
For additional settings or permission changes:
- DSM 7.0 or higher: Go to Advanced Settings.
- DSM 6.2 or lower: Use the Advanced tab.
Step 3: Connect Your Device via QuickConnect
Once QuickConnect is enabled, connect your devices:
-
Laptop/Desktop:
Open a browser and enter your QuickConnect URL (e.g.,http://quickconnect.to/yourID). This redirects you to the NAS login screen. -
Smartphone:
Download a Synology-certified app (e.g., DS File) from the app store. Log in using your QuickConnect ID, DSM username, and password.
Step 4: Secure Your NAS Connection
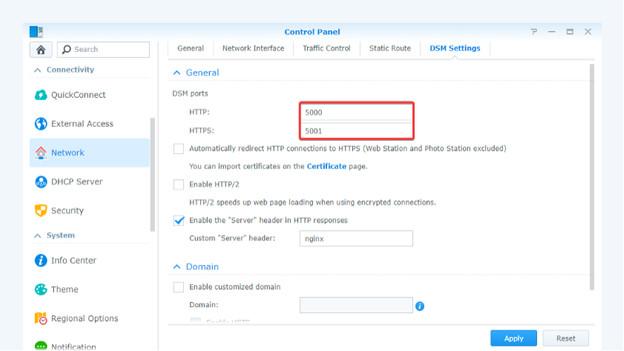
To enhance the security of your NAS connection, consider these measures:
-
Enable Automatic Blocking:
Block IP addresses with multiple failed login attempts. Enable account protection for additional security. -
Create an HTTPS Certificate:
This verifies the server’s identity before sharing sensitive information. -
Activate a Firewall:
Prevent unauthorized access by rejecting unknown login attempts.
Tips for a Secure and Smooth Experience
- Regularly update your DSM software to access the latest security features.
- Use a strong password for your QuickConnect account.
- Monitor connection logs to detect any suspicious activity.
By following these steps, you can confidently access your Synology NAS remotely while ensuring its security.