
How to Create a Shared Folder on Your Synology NAS?
Creating a shared folder on your Synology NAS is essential for organizing and managing your documents effectively. Follow this guide to set up shared folders step by step, enabling you to store and share files efficiently.
Create a Shared Folder in 4 Steps
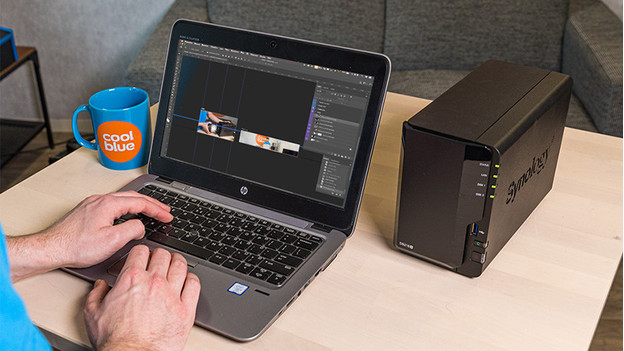
Summary of Steps:
- Open the user interface via a connected computer.
- Create a shared folder.
- Select the volume for storage.
- Set up user permissions.
Step 1: Open the User Interface via a Connected Computer
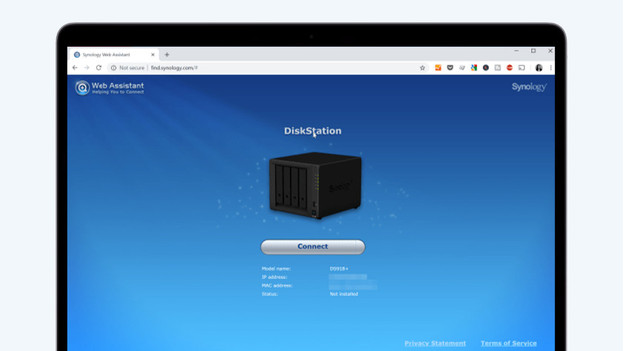
- Open a browser and navigate to find.synology.com.
- This interface will search for the connected NAS.
- If the NAS is not detected, download Synology Assistant and retry.
- Once the NAS is recognized, select it and proceed to the configuration window.
Step 2: Create a Shared Folder
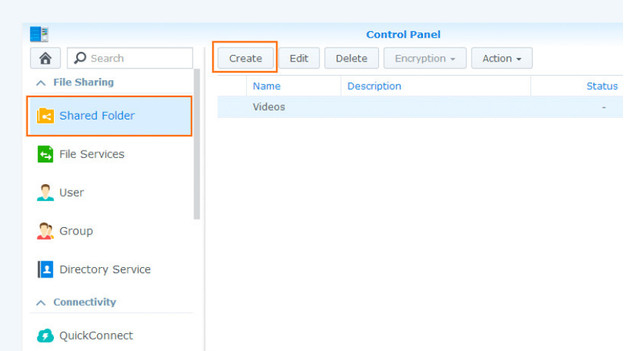
- In the configuration window, select Shared Folder and click Create.
- Provide a name and description for the shared folder (e.g., “Movies” or “Work Files”).
- Folder names are case-sensitive and cannot contain certain symbols.
- Avoid leading or trailing spaces in folder names.
- If you see an error, double-check for prohibited characters or spaces.
Step 3: Select the Volume
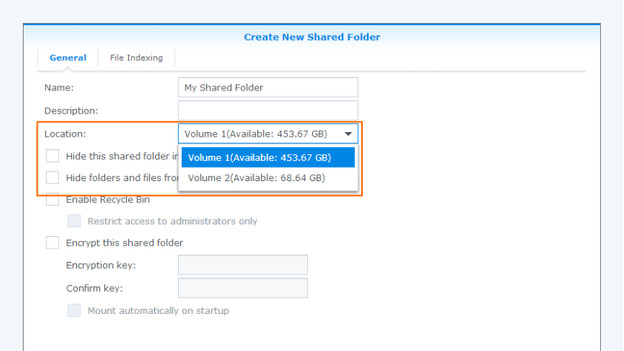
- The volume is the storage location for your data.
- Volume 1 corresponds to the hard drive in bay 1.
- If you have multiple hard drives, choose the volume where you want the folder stored.
- With only one hard drive or storage location, the volume is selected automatically.
- Click OK to proceed.
Step 4: Set Up the Rights for Users
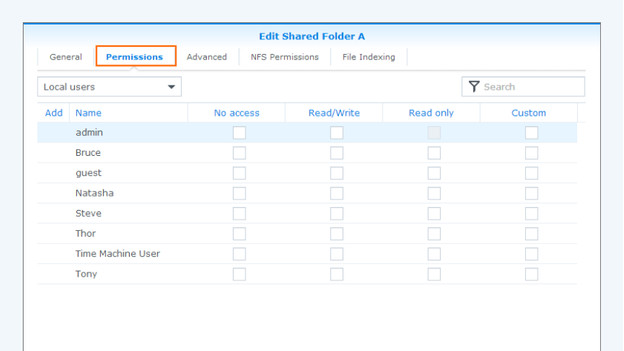
- In the next window, assign permissions for the folder.
- You can apply permissions generally or per user:
- No Access: The user cannot access the folder.
- Read/Write: The user has full access to the folder.
- Read-Only: The user can view but not modify the folder’s contents.
- Once the permissions are configured, click Apply.
Access Your NAS via Windows
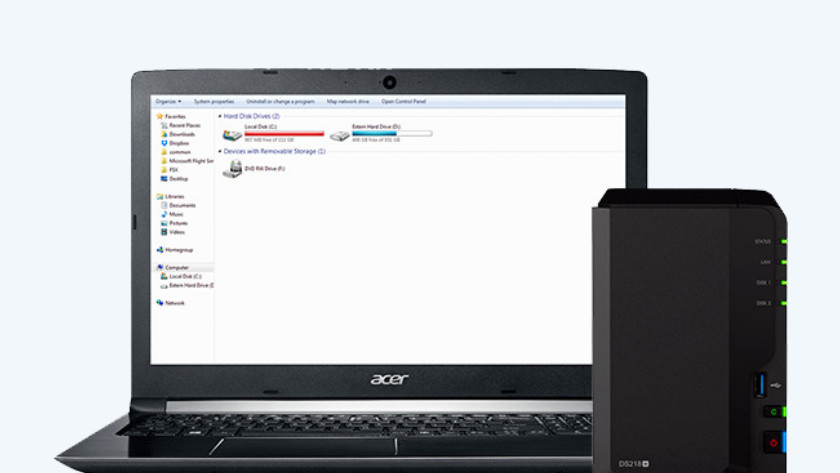
To access your shared folder on Windows, ensure you have the following:
- A Windows PC on the same network as the NAS.
- The NAS name, volume name, and shared folder name.
Access Your Synology NAS via macOS
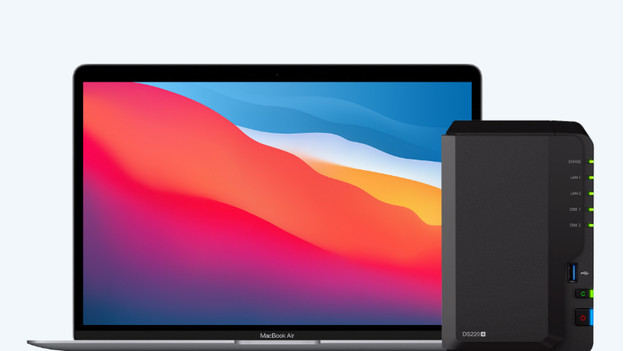
To access your shared folder on macOS, you’ll need:
- A MacBook, iMac, or Mac Mini on the same network as the NAS.
- The NAS name, volume name, and shared folder name.
Need Help?
If you’re having trouble creating a shared folder, feel free to contact customer service. They’re happy to assist with troubleshooting or further guidance.