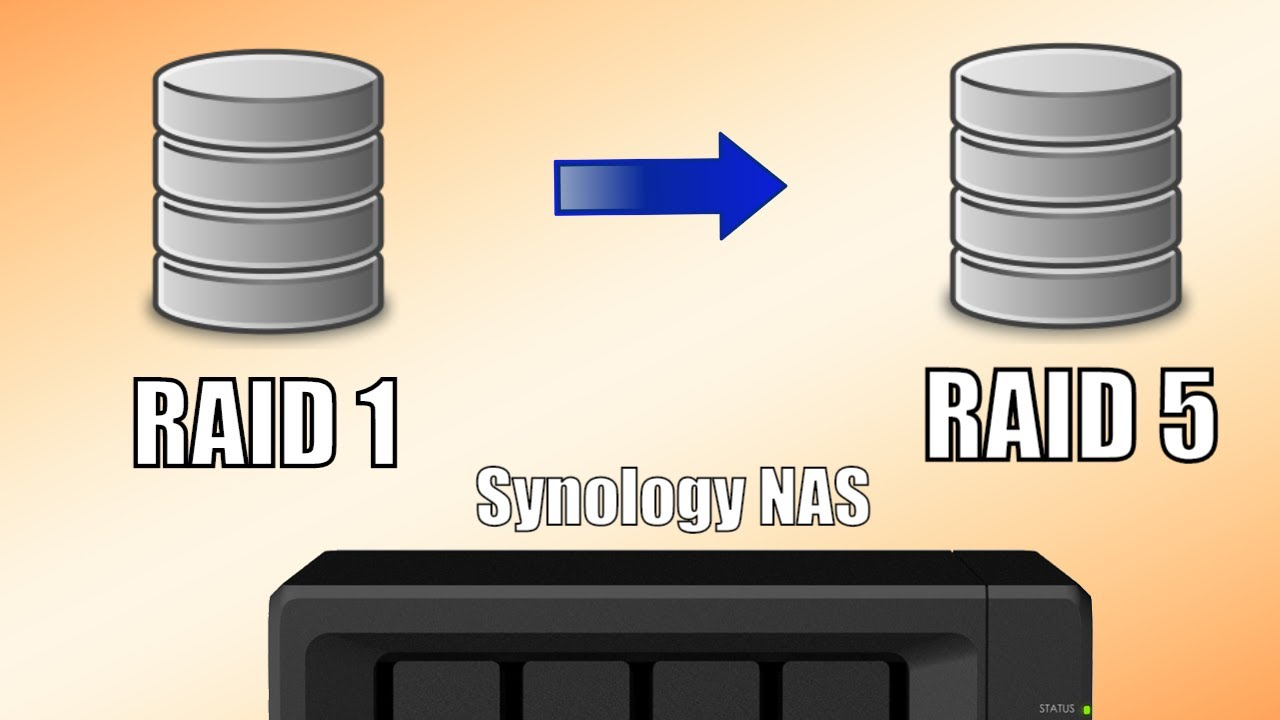
How to Adjust the RAID Setup of Your Synology NAS?
A RAID setup combines multiple hard drives to increase performance and protect against data loss. This guide explains how to create, modify, or restore a RAID setup on your Synology NAS.
What Is a RAID Setup?
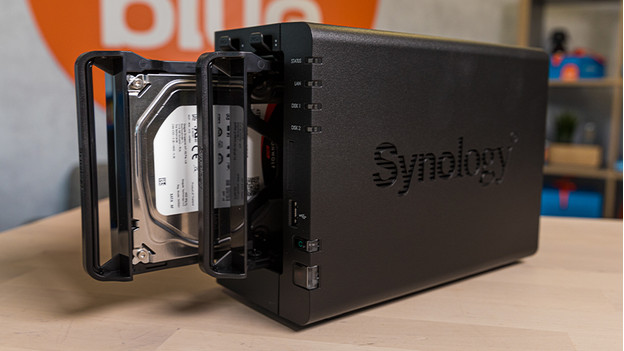
RAID stands for Redundant Array of Independent Disks. It allows you to combine hard drives for increased performance or redundancy.
Options for Adjusting RAID Setup
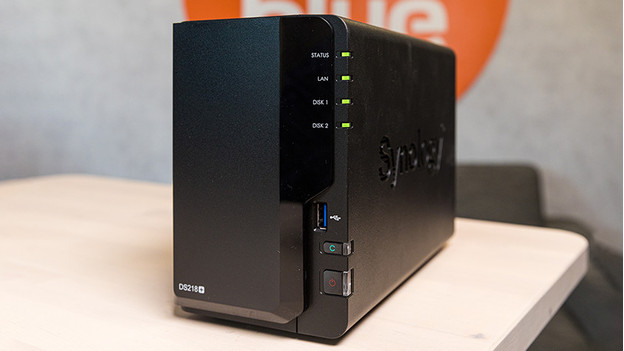
There are three main options for working with RAID on your Synology NAS:
- Create a new RAID setup (deletes all files).
- Change the current RAID setup (without losing data).
- Restore an old RAID setup (deletes all files).
Option 1: Create a New RAID Setup
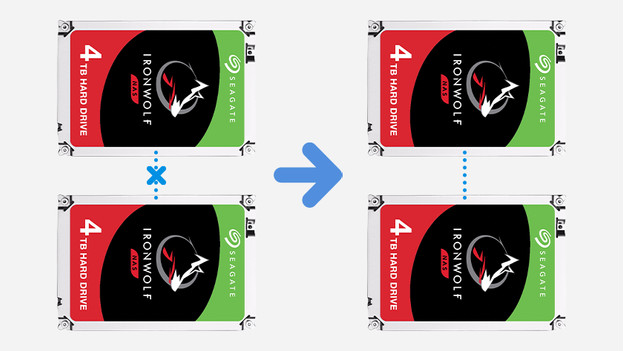
New RAID Setup Options
| From | To | Minimum Number of Drives |
|---|---|---|
| No RAID | Basic or JBOD | 1 |
| No RAID | RAID 0 or 1 | 2 |
| No RAID | Synology SHR | 2 |
| No RAID | RAID 5 | 3 |
| No RAID | RAID 6 or 10 | 4 |
| No RAID | Synology SHR-2 | 4 |
How to Create a New RAID Setup
Warning: Creating a new RAID setup deletes all files on the disks. Make a backup if needed.
- Open a browser and go to find.synology.com.
- Click Main Menu > Storage Manager.
- Select Storage Pool and click Create.
- Choose Better Performance or Higher Flexibility based on your needs.
- Note: SHR and SHR-2 are unavailable under Better Performance.
- Select the desired RAID type and click Next.
- Choose the hard drives for the RAID setup.
- Review your choices and click Apply.
- In Storage Manager, go to Volume and click Create.
- Select Choose an Existing Storage Pool and configure the volume size.
- Complete the process and click Apply.
Option 2: Change the RAID Setup
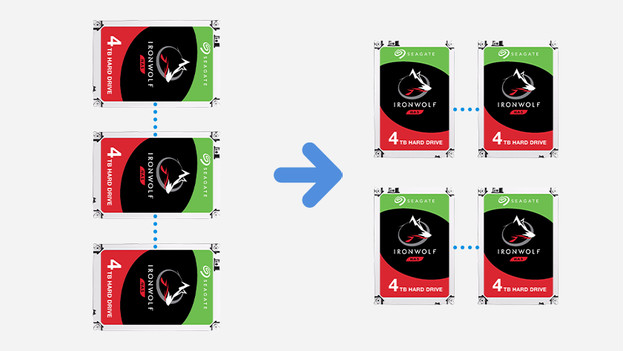
Supported RAID Changes
| From | To | Minimum Number of Drives |
|---|---|---|
| Basic/JBOD | RAID 1 | 2 (1 more than Basic) |
| Basic/JBOD | RAID 5 | 3 (2 more than Basic) |
| RAID 1 | RAID 5 | 3 (1 more than RAID 1) |
| RAID 5 | RAID 6 | 4 (1 more than RAID 5) |
| SHR | SHR-2 | 4/5 (2 more than SHR) |
How to Change the RAID Setup
Note: Changes outside the above table will result in data loss. Always back up your data.
- Open a browser and go to find.synology.com.
- Navigate to Main Menu > Storage Manager.
- Select Volume from the left-hand menu.
- Choose the target volume and click Manage.
- Select Change RAID Type and click Next.
- Pick the new RAID type and click Next.
- If adding new drives, select them and click Next.
- Complete the process. Your RAID setup has now been updated.
Option 3: Restore a RAID Setup

Warning: Restoring a RAID setup deletes all data on the disks. Backup your data before proceeding.
How to Restore a RAID Setup
- Open the NAS configuration page (find.synology.com) and log in.
- Optionally, back up your data using the Synology Hyper Backup application.
- Go to Main Menu > Storage Manager.
- Select Volume and delete the current volume. Confirm the deletion.
- Click Create and choose the disks to use.
- Select the desired RAID setup and follow the steps to complete the process.
- The volume may take several hours to be fully ready. Check its status in the volume overview.
Final Notes
- Backup Regularly: Always ensure your data is backed up before making changes to RAID setups.
- Choose the Right RAID: Understand your storage needs and select the appropriate RAID type for performance or redundancy.
- Seek Support: If you encounter issues, consult Synology support for assistance.
By following these steps, you can effectively manage RAID setups on your Synology NAS, ensuring optimal storage performance and data protection.